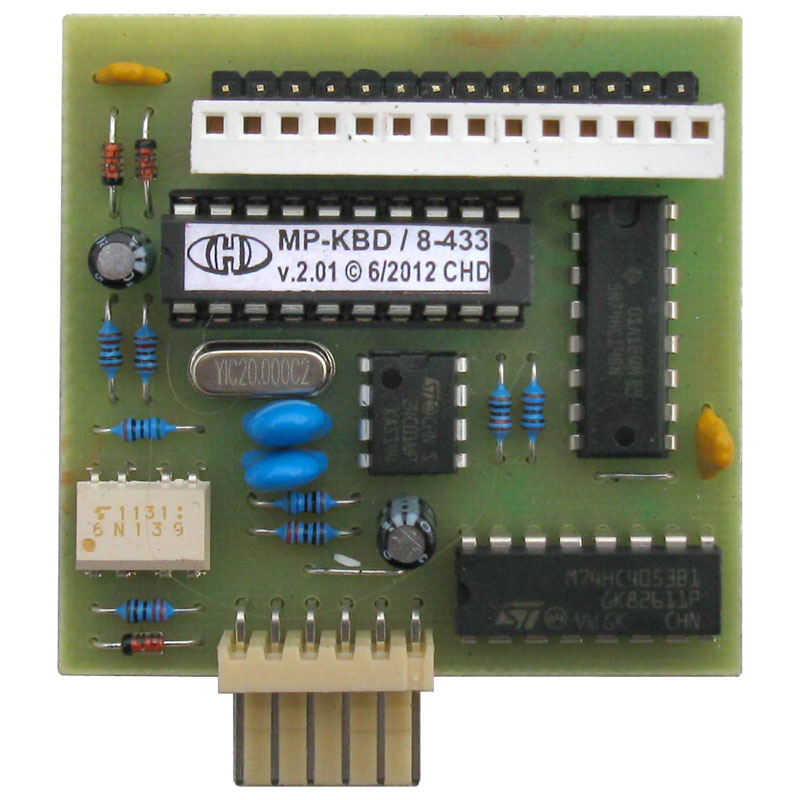
Description
Main Features | Variants | Installation | Documents & SW Support | FAQ & Troubleshooting
Main Features |
- The interface works in one direction only – it only receives MIDI data. Instrument’s keyboard, knobs, sliders and switches are not transmitted as a MIDI data.
- Controls the Mono/Poly’s keyboard (VCOs) and arpeggiator clock from MIDI. The instrument’s tone parameters (control elements on panel) are not MIDI controllable.
- All working modes of the instrument keyboard (i.e. Hold, Poly, Mono, Unison, Chord) and controllers on instrument panel remain fully workable with installed interface.
- The instrument’s keyboard is controlled manually and by MIDI Note On/Off commands simultaneously (in parallel manner).
- Easy user control of the interface parameters via MIDI CCs (as well as SysEx for experts):
» 44 MIDI Notes (3 2/3 octaves) range
» Transpose function (over whole range of MIDI Notes)
» Four modes of MIDI Notes priority can be chosen
» The instrument’s VCOs can be detuned by MIDI Pitch Bend (in semitone steps only) in range 0 to ±24 semitones
» The instrument’s arpeggiator can be synchronized with MIDI Clock
» Hold pedal – CC #64 (works with MIDI Notes)
» User selectable MIDI Channel for communication - Original features of the instrument are not changed and the instrument can be used the same way as before the interface installation.
- Very easy installation without the instrument circuits modification.
The interface recognizes MIDI commands:
- Note On/Off
- Pitch Bend
- Standard CCs (Hold, ASO, ANO, RAC)
- Own CCs (# 16-19)
- Common MIDI Synchronization – MIDI Clock
- Common System Reset
- System Exclusive Messages
Variants |
Two variants of MP-KBD MIDI interface are available due to some differences between Mono / Poly instruments produced by Korg in process of time. The difference is in keyboard connector on KLM-356 board inside the instrument. It is important to check which version of KLM-356 board is installed inside your instrument before the interface ordering.
Unscrew the three screws from the bottom of the instrument and four screws on the front panel:


Lift off carefully the instrument top panel:

The keyboard connector (labeled CN22) is placed on left side of Key Assigner (KLM-356) board:

Now you can see the keyboard connector. If pins of the keyboard connector are freed, the “A” variant of the interface is the right for you (see picture below):

If there is a barrier around pins of the keyboard connector, you need the “B” variant of the interface (see picture below):

Installation |
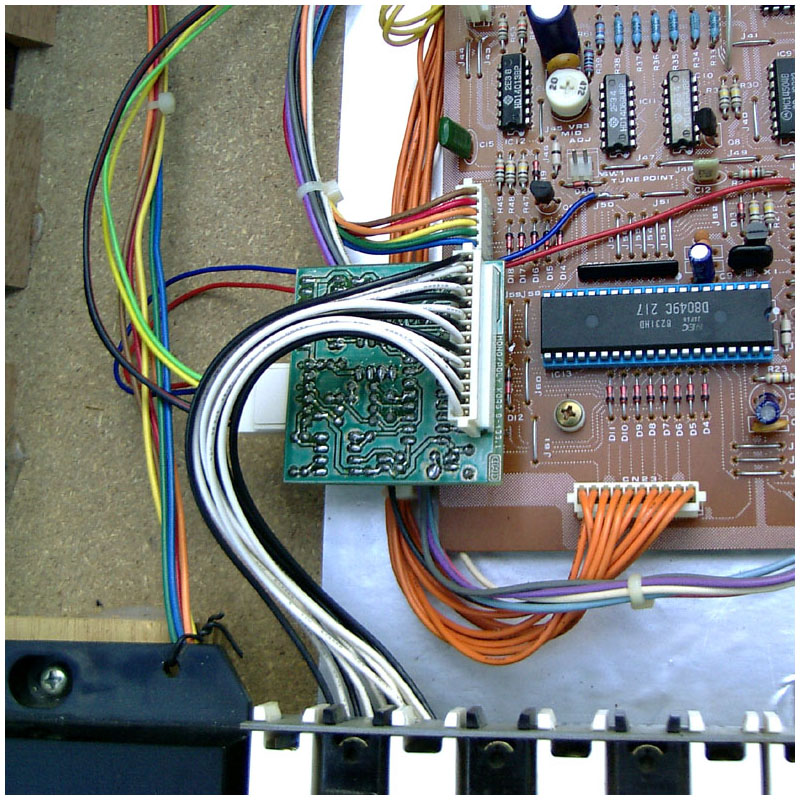
Installation of all MIDI interface parts into the instrument is very easy and no problem should occur if all instructions indicated in the installation manual are kept. Please note that a complete beginner should not carry out the installation. At least basic manual dexterity and knowledge of soldering are required.
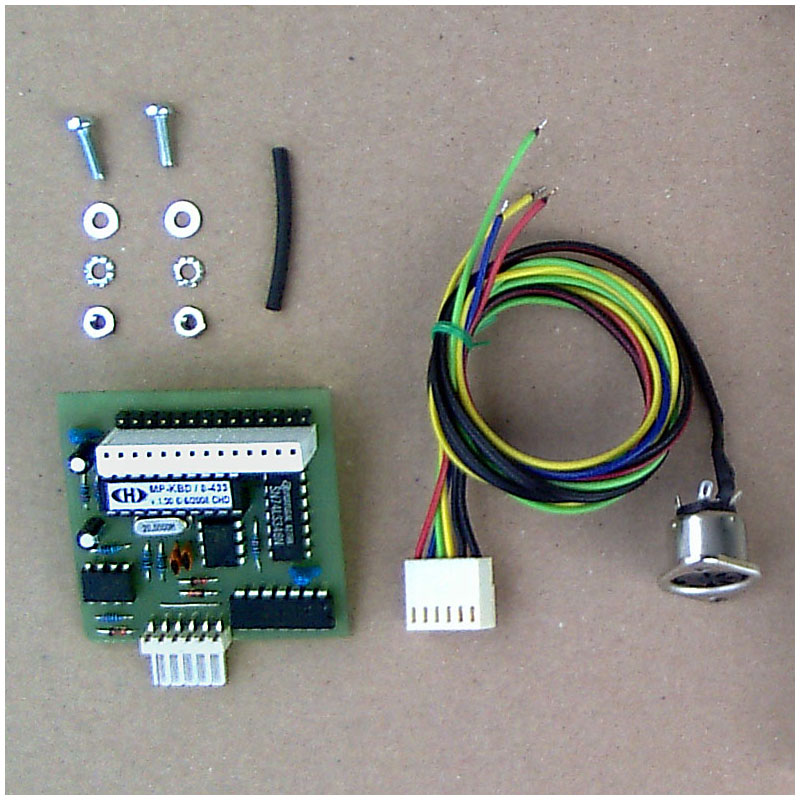
The MP-KBD MIDI kit package contains all necessary parts (board, cables, coupling elements, etc.) incl. owner’s and installation manuals in printed form.
Block diagram:

Documents & SW Support |
See list of documents and support software available for download.
Note that Owner’s Manual and Installation Manual in printed form are included in the product delivery.
FAQ & Troubleshooting |
| Problem: | Solution: | |
|---|---|---|
|
There are no wire jumpers J50 and J71 on my KLM-356 board. How to connect red and blue interface’s cables in that case? |
→ |
On some KLM-356 boards, wire jumpers are replaced with components that look like resistors (marked with one black stripe). These “resistors” have zero resistance and their function is the same as the wire jumper. It does not matter to which of terminals of such component the interface cable is connected because they both have the same potential. |
Wire jumpers:

Like resistor jumpers:


